How To Fix A Slipping Transmission: Diagnosis And Technical Repair Guide
When you press the accelerator and the engine revs higher than normal while the vehicle struggles to gain speed, you are experiencing…
When you press the accelerator and the engine revs higher than normal while the vehicle struggles to gain speed, you are experiencing the critical failure known as transmission slippage. This phenomenon is not merely a nuisance; it is a clear indication that the powertrain is failing to transmit torque efficiently from the engine to the drive wheels. A slipping transmission is a multifaceted problem that can stem from simple fluid level discrepancies, failed electronic sensors, or the inevitable mechanical wear of internal friction plates. This technical guide provides a systematic approach to diagnose the failure, troubleshoot hydraulic and electronic components, and implement the necessary repair to restore vehicle drivability.
Diagnose the Root Cause of Transmission Slippage via OBD-II Scans
📤 Share Image
In the era of computer-controlled drivetrains, your first step in any troubleshoot protocol must be digital. Modern vehicles utilize a Transmission Control Module (TCM) that monitors input and output speeds, line pressure, and shift timing with millisecond precision. When the TCM detects that the engine RPM is increasing without a corresponding increase in output shaft speed, it identifies a slip and stores a Diagnostic Trouble Code (DTC).
Interpreting DTCs in the P0700 to P0800 Range
Utilizing a high-quality OBD-II scanner is non-negotiable for a professional-grade diagnose. You should look specifically for codes in the P0700 to P0800 range. For example, P0730 (Incorrect Gear Ratio) suggests the transmission is not in the gear the TCM commanded, which is a classic symptom of internal slipping. If you see P0732 (Gear 2 Incorrect Ratio), you have successfully pinpointed the failure to a specific gear set or clutch pack, narrowing your repair focus significantly.
Leveraging Freeze Frame Data
The “Freeze Frame” data is an invaluable debug tool. It captures a snapshot of engine load, RPM, vehicle speed, and transmission temperature at the exact moment the fault occurred. If the slip occurs only at high operating temperatures, you are likely looking at a fluid viscosity breakdown or a heat-sensitive seal failure. Conversely, if it occurs under heavy load, the cause is more likely worn friction material or low line pressure.
Don’t assume a slip is always mechanical. A P0705 (Transmission Range Sensor circuit malfunction) can cause the TCM to fluctuate between gears rapidly, mimicking the sensation of a mechanical slip. Always verify sensor integrity before tearing into the hardware.
Diagnostic Statistics
Issues flagged by TCM before physical failure
Primary indicator of generic TCM faults

Troubleshoot Transmission Fluid Levels and Hydraulic Integrity
Hydraulic pressure is the lifeblood of an automatic transmission. Without sufficient pressure, the clutch packs cannot be squeezed together tightly enough to prevent slipping. Therefore, the most common and cost-effective solution to a slipping transmission involves a meticulous inspection of the Automatic Transmission Fluid (ATF).
The Precision Fluid Check
Checking transmission fluid is not as simple as checking engine oil. To obtain an accurate reading, the engine must be at operating temperature, the vehicle parked on perfectly level ground, and the gear selector cycled through all positions (P-R-N-D-L) before returning to Park. Low fluid levels lead to pump cavitation, where air is sucked into the system instead of liquid, causing massive pressure drops and immediate slipping.
Visual and Olfactory Analysis
Pull the dipstick and examine the fluid’s condition. Healthy ATF should be bright red and translucent.
- Dark Brown/Black: This indicates oxidized fluid that has lost its friction modifiers and heat-carrying capacity.
- Burnt Smell: A pungent, acrid odor is a definitive sign that the internal friction plates have already begun to burn.
- Foam/Bubbles: Aerated fluid suggests either an overfill condition or a cracked pickup tube in the pan, both of which prevent the torque converter from maintaining hydraulic lock-up.
Never substitute fluid types. Using Dexron VI in a system requiring ATF+4 can alter the friction coefficient enough to cause immediate slipping and permanent seal damage.
Consider a common case study: A vehicle experiencing a “2-3 shift flare”—where the RPMs jump between the second and third gear shift. This is frequently resolved by adding as little as one quart of fluid. According to the Car Care Council, approximately 1 in 4 vehicles on the road operate with dangerously low or contaminated transmission fluid, making this the primary workaround to investigate before assuming mechanical failure.

Resolve Shifting Inconsistencies by Replacing Faulty Solenoids
Shift solenoids are the electro-hydraulic gatekeepers of the transmission. They receive electrical signals from the TCM and open or close to direct pressurized fluid into the appropriate clutch packs and bands. If a solenoid is stuck or has a failing internal coil, it cannot maintain the pressure required to keep a gear engaged, leading to a slip.
Testing Solenoid Resistance
Before replacing parts, perform a bench test or an in-vehicle test using a digital multimeter. Most solenoids should show a resistance between 20 and 30 ohms. If a solenoid shows “OL” (Open Loop) or significantly lower resistance, the internal wiring has failed. Replacing a single solenoid is a viable repair that can save thousands compared to a full rebuild.
📋
Solenoid Replacement Protocol
Drain the ATF and remove the transmission pan. Be prepared for a mess, as fluid will remain in the filter and valve body.
Locate the specific shift solenoid indicated by your DTC. On popular units like the 4L60E, these are easily accessible on the bottom of the valve body.
While the pan is off, clean the valve body channels. Small debris can prevent check balls from seating, causing pressure drops that feel like slipping.
Solenoid failure accounts for nearly 30% of ‘slipping’ complaints in electronically controlled transmissions built after 2010. By focusing on these components, you can often resolve complex shifting issues without removing the transmission from the vehicle.
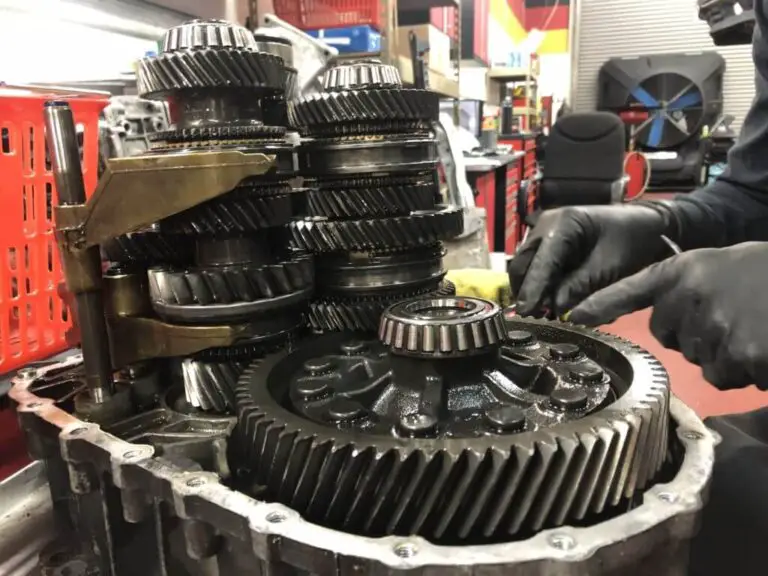
Repair Internal Wear via Clutch Pack and Band Adjustments
When electronic and hydraulic diagnose steps yield no results, you must confront the mechanical reality of internal wear. An automatic transmission relies on multiple clutch packs—alternating stacks of friction disks and steel plates. When these engage, the friction material “grabs” the steel plates to lock gear components together.
Friction Disk Anatomy and Failure
A healthy friction disk is approximately 0.060 inches thick. Over time, heat and usage wear this material down. Once the disk is glazed or worn to the steel, it loses its coefficient of friction. Under high engine load, the plates slide past each other rather than locking, resulting in the “slipping” sensation. At this stage, the only permanent solution is a teardown and replacement of the friction elements.
External Band Adjustments
In many older transmission designs (and some modern truck units), external bands are used to hold planetary gear members. These bands have an adjustment screw on the outside of the case. As the lining wears, the band becomes loose. Repairing this often involves loosening a lock nut and torquing the adjustment screw to factory specifications to take up the slack. This is a vital workaround that can extend the life of a transmission by 20,000 miles or more.
The average lifespan of an automatic transmission is 150,000 to 200,000 miles, with clutch wear being the primary ‘end-of-life’ factor. If your mileage is in this range and you find significant metal debris in the pan, the mechanical integrity of the unit has been compromised.
Solution Implementations: Technical Resets and Professional Rebuilds
Once you have performed a repair—whether it was a fluid change or a solenoid replacement—you must conclude with a technical reset. Modern TCMs use “Adaptive Learning” to adjust line pressure based on the wear levels of the clutches. If you replace parts but don’t reset the TCM, the computer will continue to apply pressure as if the old, worn parts were still installed, which can lead to harsh shifts or immediate re-slippage.
The TCM Adaptive Learning Reset
Using a bi-directional scan tool, navigate to the transmission menu and select “Reset Adaptive Values.” After the reset, perform a “relearn” drive cycle, which usually involves a series of light-throttle accelerations through all gears. This allows the computer to debug its pressure maps for the new components.
✅ DIY Solenoid Fix
- Cost: ~$150 – $300
- Time: 2-4 hours
- Longevity: High (if caught early)
❌ Professional Rebuild
- Cost: ~$2,500 – $4,500
- Time: 1-2 weeks
- Longevity: Maximum (like new)
Determining the Point of No Return
Knowing when to stop troubleshooting and start replacing is key to managing costs. If you drop the transmission pan and find “glitter” (fine metal shavings) or large chunks of steel, you have experienced a catastrophic failure of a planetary gear or sun gear. In this scenario, a fluid flush is a waste of money; a full bench rebuild or a remanufactured unit is the only viable solution.
Transmission rebuilds typically take 15-20 labor hours, making labor the largest expense in professional repairs. If your vehicle is older, a used transmission from a low-mileage donor may be a more cost-effective workaround, though it lacks the warranty protection of a remanufactured unit.
In summary, diagnose first with an OBD-II scan to identify gear-specific failures. Perform a comprehensive fluid analysis to rule out low pressure or oxidized fluid as the primary cause. Finally, evaluate shift solenoids and friction components before committing to a full transmission replacement. If your transmission continues to slip after checking fluid levels and codes, consult a certified ASE technician immediately to prevent catastrophic internal damage.
Frequently Asked Questions
Can I drive my car if the transmission is slipping?
Driving with a slipping transmission is highly discouraged. Every time the engine revs without corresponding acceleration, it creates extreme heat and friction on the internal clutch plates. This friction quickly wears away the remaining material, turning a potentially minor solenoid or fluid issue into a total transmission failure that requires a full rebuild or replacement.
Will a transmission flush fix a slipping transmission?
A flush is rarely a solution for slippage and can sometimes worsen the issue. If the slippage is caused by worn friction plates, the ‘grit’ suspended in the old fluid may actually be providing the necessary friction to move the vehicle. Removing this fluid during a flush can lead to total loss of gear engagement shortly after the service.
How much does it typically cost to fix a slipping transmission?
Costs vary significantly based on the root cause. A simple fluid top-off or sensor replacement can cost between $50 and $250. However, if shift solenoids or the valve body require replacement, expect to pay between $400 and $800. If the internal clutch packs are burnt, a professional rebuild typically ranges from $2,500 to $4,500.
Does low transmission fluid always cause slipping?
Yes, low fluid is one of the most common causes of slippage. Automatic transmissions rely on hydraulic pressure to engage the internal clutches and bands. When fluid levels are low, the pump draws in air, leading to a drop in pressure. Without sufficient pressure, the clutch packs cannot stay tightly compressed, causing them to slide against one another.
Can a bad engine sensor cause the transmission to slip?
Absolutely. Sensors such as the Throttle Position Sensor (TPS) or the Mass Air Flow (MAF) sensor provide critical data to the Transmission Control Module. If the TCM receives incorrect data about engine load, it may not apply enough hydraulic pressure to the clutch packs for the current driving conditions, resulting in an electronic slip.