
How to Inflate a Flat Tire With a Portable Air Compressor Safely

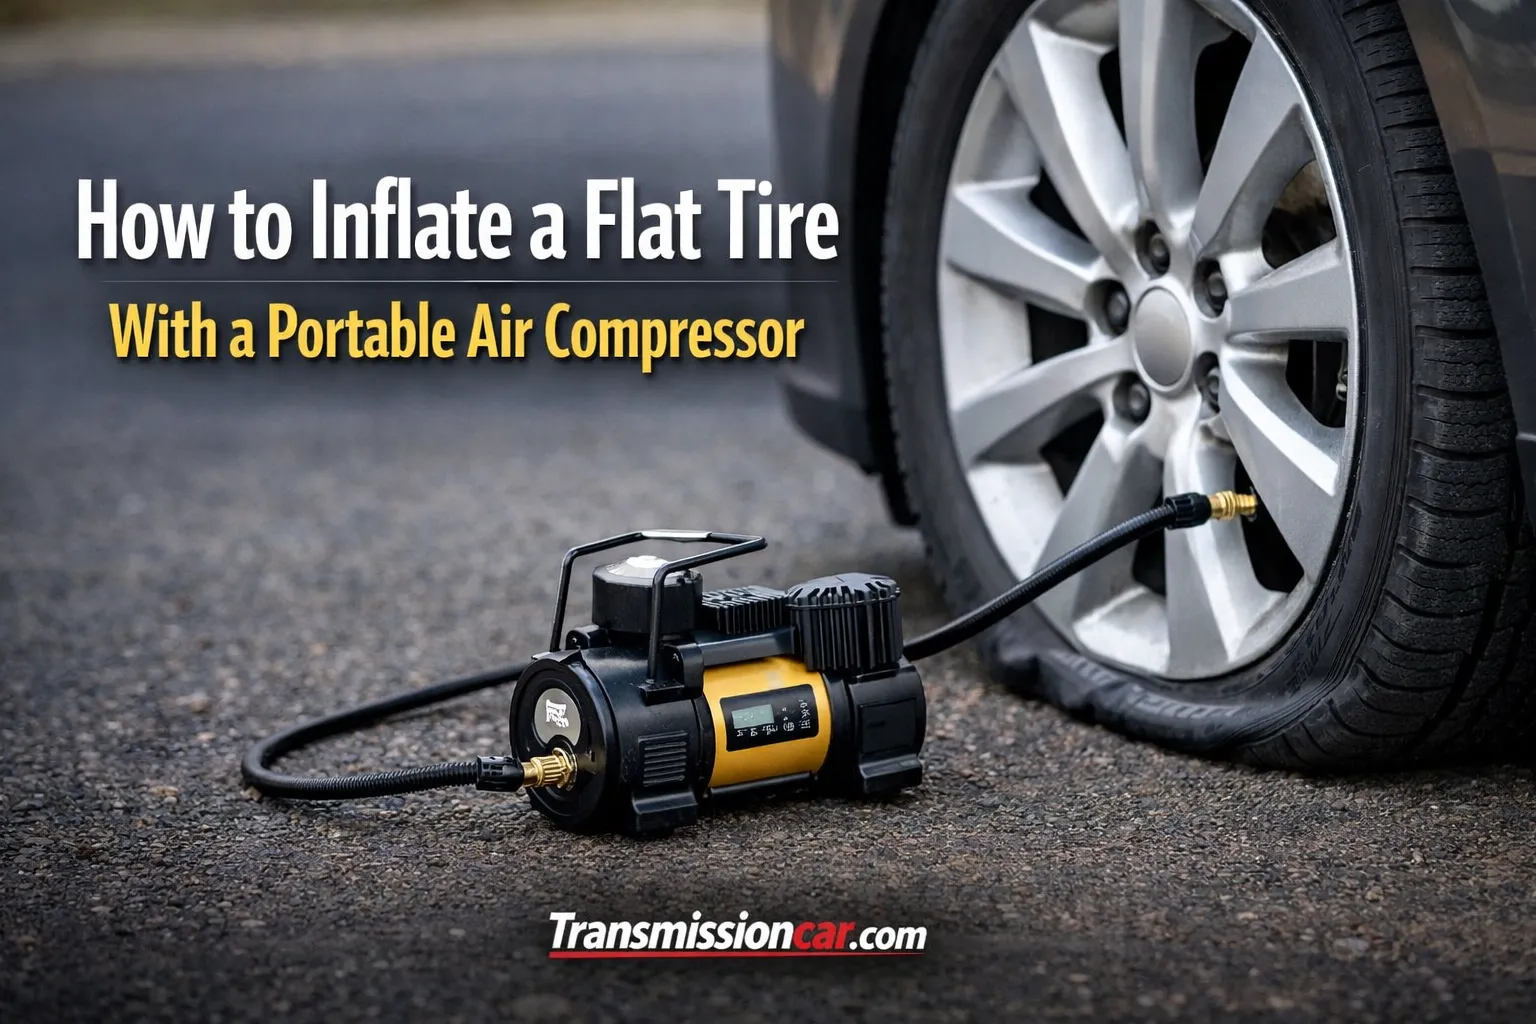
A flat or severely underinflated tire can leave you stranded at home, in a parking lot, or beside a busy road. Fortunately, a compact air compressor may provide enough pressure to move the vehicle safely to a nearby tire shop.
Learning how to inflate a flat tire with a portable air compressor is straightforward, but the tire must first be checked for serious damage. An inflator cannot safely repair a torn sidewall, separated tread, damaged wheel, or tire that has come off the rim.
This guide explains how to identify the correct tire pressure, connect and operate a portable compressor, recognize unsafe tire damage, and decide whether you can drive or need roadside assistance.
Quick Answer
To inflate a flat tire with a portable air compressor, park safely, check the tire for visible damage, find the recommended PSI on the driver-side door label, connect the compressor hose to the valve stem, power the unit, and inflate gradually. Stop if the tire is torn, leaking rapidly, or separated from the wheel.
Can a Portable Air Compressor Inflate a Completely Flat Tire?
A portable compressor can often inflate a tire that has lost air because of:
- A small tread puncture
- A loose or damaged valve core
- Cold weather
- Natural pressure loss
- A slow bead leak
- A minor wheel-rim leak
However, adding air does not repair the source of the leak. It only restores pressure temporarily.
A small compressor may struggle if the tire is completely empty. When pressure falls to zero, the tire bead—the reinforced edge that seals against the wheel—may move away from the rim. Most portable inflators cannot provide the rapid airflow needed to reseat it.
Do not attempt inflation when you see:
- A cut, crack, or bulge in the sidewall
- Exposed steel cords or internal fabric
- Tread separating from the tire body
- A bent or cracked wheel
- A tire that has slipped off the rim
- Smoke, extreme heat, or a burning-rubber smell
- Damage caused by driving on the flat tire
A damaged tire can rupture while being inflated. Keep your face and body away from the sidewall, and call roadside assistance when the tire’s condition is uncertain.
What You Need Before Starting
Gather the following items:
- Portable air compressor or tire inflator
- Accurate tire-pressure gauge
- Vehicle owner’s manual
- Flashlight for nighttime use
- Gloves
- Reflective warning triangles or road flares
- Tire valve-cap removal tool, if necessary
- Extension power cable approved for the compressor, if applicable
Some compressors include an automatic shutoff function. You enter the desired PSI, and the compressor stops after reaching it. This reduces the chance of overinflation, although you should still verify pressure with a separate gauge.
A practical roadside kit should also contain a spare tire, jack, lug wrench, phone charger, and emergency lighting. AAA’s roadside emergency preparation guidance includes a tire inflator and sealant among the recommended emergency supplies. (AAA)
Find the Correct Tire Pressure
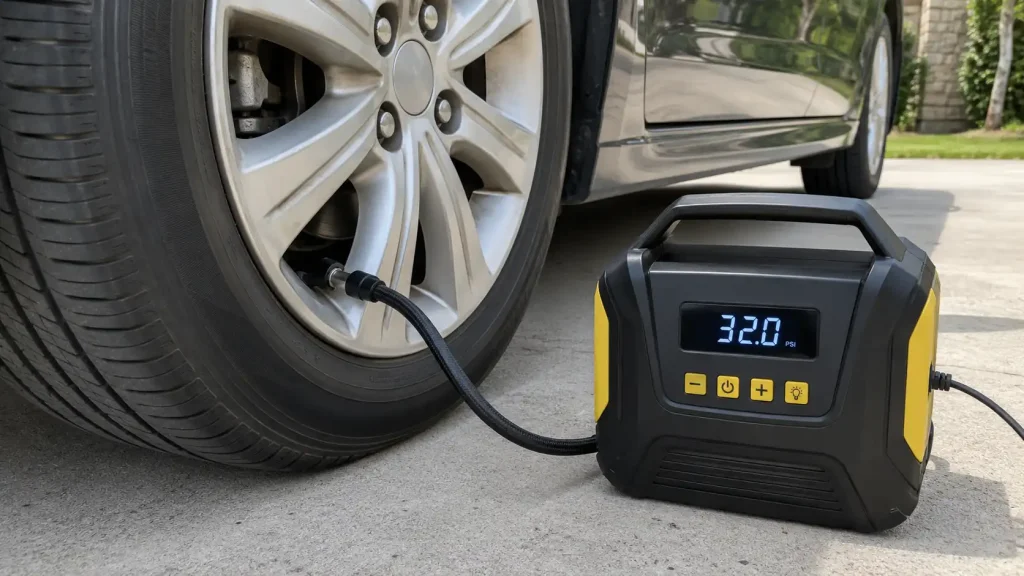
Do not guess the pressure, and do not use the large PSI number molded into the tire’s sidewall.
That sidewall number normally represents the tire’s maximum cold inflation pressure at its rated load. It is not necessarily the pressure recommended for your car.
Look for the vehicle manufacturer’s tire-information label in one of these locations:
- Driver-side door jamb
- Edge of the driver’s door
- Inside the fuel-filler door
- Glove compartment
- Vehicle owner’s manual
The label lists the recommended cold pressure for the front and rear tires. The numbers may be different.
According to the NHTSA TireWise safety guidance, drivers should use the recommended cold inflation pressure on the vehicle placard or certification label. A cold tire is generally one that has been parked for at least three hours. (NHTSA)
What If the Tire Is Warm?
Driving heats the tire and increases its internal pressure. Therefore, a warm reading may be several PSI higher than the cold reading.
If the tire is dangerously low while warm, add enough air to reach the vehicle’s recommended pressure rather than continuing to drive underinflated. Recheck and adjust the pressure after the tire has cooled.
Do not release air from a warm tire simply because its pressure is higher than the cold specification.
How to Inflate a Flat Tire With a Portable Air Compressor
1. Move the Vehicle to a Safe Location
Pull as far away from moving traffic as possible. Choose a firm, flat surface rather than soft soil or a steep shoulder.
Turn on the hazard lights. Apply the parking brake and shift the transmission into Park. For a manual transmission, select first gear or reverse and switch off the engine.
If you cannot reach a safe location without driving on the flat tire, call roadside assistance. Driving even a short distance on a fully deflated tire can destroy the sidewall and damage the wheel.
2. Inspect the Tire Carefully
Walk around the tire and look for cuts, bulges, exposed cords, missing tread, or obvious wheel damage.
Check whether the tire is still seated evenly around the rim. The distance between the tire and wheel should appear consistent.
You may leave a nail or screw in the tread temporarily. Removing it can turn a slow leak into a fast one. A tire professional can determine whether the puncture is repairable.
3. Confirm the Required PSI
Read the driver-side tire placard and note the recommended pressure for the affected tire.
For example, the front tires may require 35 PSI while the rear tires require 33 PSI. Use the exact position-specific number rather than assuming all four tires are identical.
4. Prepare the Compressor
Portable compressors generally use one of three power sources:
- 12-volt accessory outlet: Plugs into the vehicle’s power socket
- Battery clamps: Connects directly to the battery terminals
- Rechargeable battery: Operates without a vehicle power connection
Follow the compressor manufacturer’s instructions. Some 12-volt models require the engine to be running to prevent battery discharge. Others warn against operating the compressor in an enclosed space.
Never run a gasoline-powered vehicle inside a closed garage. Exhaust fumes can build up quickly.
5. Remove the Valve-Stem Cap
Unscrew the small plastic or metal cap from the tire valve. Place it somewhere secure so it does not roll away.
Briefly inspect the valve stem. Stop if it is split, severely bent, loose at its base, or hissing strongly. A damaged stem may need professional replacement.
6. Attach the Air Hose
Push or screw the compressor fitting firmly onto the valve stem.
Depending on the inflator, the connection may use:
- A threaded screw-on fitting
- A lever-lock chuck
- A push-on fitting
A brief hiss is normal while making the connection. Continuous hissing indicates that the fitting is loose or misaligned.
7. Set the Target Pressure
For a digital compressor, select PSI as the measurement unit and enter the pressure shown on the vehicle placard.
For an analog compressor, monitor the built-in gauge while inflating. Because small inflator gauges are not always perfectly accurate, verify the final pressure with a separate gauge.
8. Start the Compressor
Switch on the unit and watch the tire as it begins to inflate.
The compressor may become noisy and vibrate. This is normal. What is not normal is smoke, a burning smell, sparking, or excessive heat.
Many compact compressors have a limited duty cycle. For example, the instructions may permit several minutes of operation followed by a cooling period. Ignoring the duty cycle can overheat the motor or melt the hose.
9. Inflate in Short Intervals
If the compressor does not have automatic shutoff, pause periodically and check the pressure.
Avoid leaning directly over the tire. Stand to the side while it inflates.
As pressure increases, inspect the tire’s shape. Stop immediately if you notice:
- A growing sidewall bulge
- Uneven expansion
- The bead moving away from the wheel
- Rapid pressure loss
- Loud cracking or popping sounds
10. Verify the Final Pressure
Turn off the compressor and disconnect the hose. Check the pressure with a reliable handheld gauge.
If the tire is overinflated, press the small pin inside the valve stem briefly to release air. Measure again after each short release.
Replace the valve cap once the pressure is correct.
11. Check Whether the Tire Holds Air
Wait a few minutes and measure the pressure again.
A small drop can result from disconnecting the hose. A continuing or rapid drop indicates an active leak that may be too serious for driving.
You can also listen for escaping air. Soapy water may reveal small leaks by producing bubbles, but use it only when the vehicle is safely parked away from traffic.
Can You Drive After Inflating the Flat Tire?
 portable tire inflator use” class=”wp-image-9367″/>
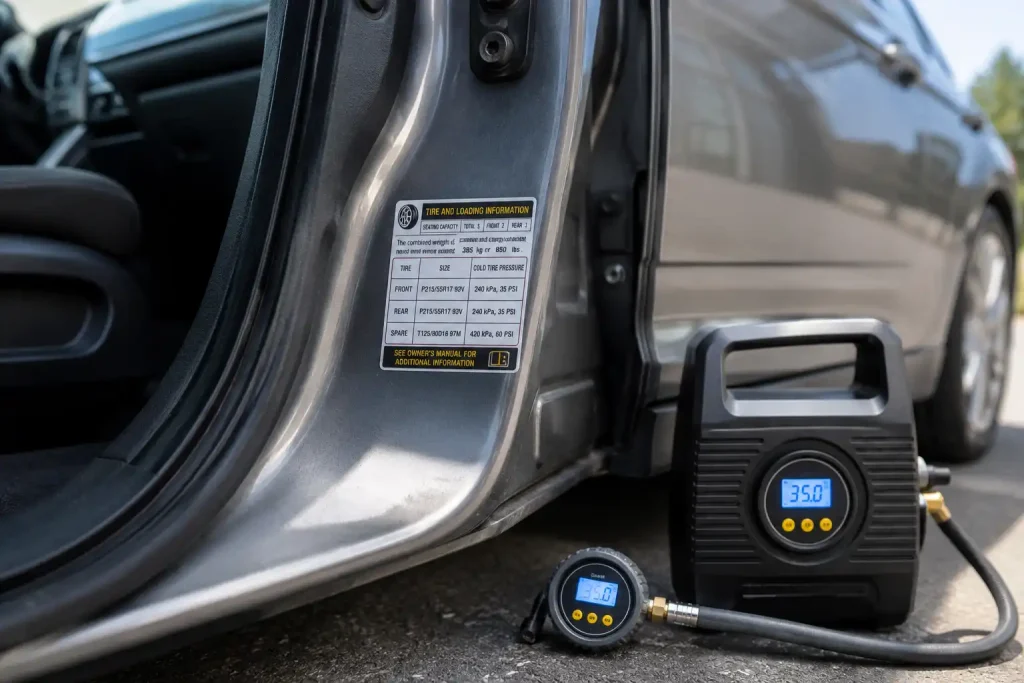
Whether you can drive depends on the cause of the pressure loss and how well the tire holds air.
| Tire condition | Should you use the compressor? | Recommended action |
|---|---|---|
| Slightly underinflated with no visible damage | Yes | Inflate to the placard PSI and monitor |
| Slow tread puncture with tire still holding air | Temporarily | Inflate and drive carefully to a tire shop |
| Pressure drops again within minutes | Usually not safe | Call roadside assistance |
| Sidewall cut, bubble, or exposed cords | No | Replace the tire; do not drive |
| Tire separated from the rim | No | Arrange professional service or towing |
| Bent or cracked wheel | No | Tow the vehicle for inspection |
| Tire damaged after being driven flat | No | Replace or professionally inspect it |
After inflation, drive slowly for a short distance and recheck the pressure. Avoid highway speeds, hard braking, heavy loads, and long trips until the tire has been professionally inspected.
A tread puncture may be repairable when it is located in an approved repair area and the tire has not been driven while flat. Sidewall and shoulder damage generally require tire replacement.
Tire Inflator Versus Tire Sealant
An air compressor adds air but does not seal the puncture. Tire sealant is designed to coat or plug a small leak temporarily.
Sealant may help when:
- The puncture is small and located in the tread
- The product is approved for your tire and TPMS
- No spare tire is available
- You need to reach a nearby repair facility
Sealant should not be relied on for:
- Sidewall damage
- Large punctures
- Wheel damage
- A separated tire bead
- Multiple punctures
- A tire damaged by continued driving
Check the vehicle owner’s manual before using sealant. Some factory inflator kits have vehicle-specific procedures, speed limits, driving-distance limits, and replacement dates for the sealant container.
Tell the tire technician that sealant was used. It must usually be cleaned from the tire and wheel before inspection or repair.
Choosing a Reliable Portable Air Compressor
The cheapest inflator is not always the best option. A compressor stored for emergencies must work after months in a hot or cold trunk.
Consider these features:
- Maximum supported tire size
- Inflation speed
- Duty-cycle rating
- Accurate digital gauge
- Automatic shutoff
- Long power cable and air hose
- Battery-clamp option for higher output
- Built-in work light
- Replaceable fuse
- Thermal-overload protection
- Secure storage case
- Warranty and replacement-part availability
A compact 12-volt inflator may be suitable for sedans and small crossovers but slow for pickup-truck or large SUV tires. Higher-volume tires need more airflow and may require a heavier-duty compressor.
Durability matters more than an impressive maximum-PSI claim. Passenger-vehicle tires normally do not need extreme pressure, but they do need steady airflow, reliable wiring, and protection against overheating.
Expert Tip
Expert Tip: Test your portable compressor at home before depending on it during an emergency. Learn how the fittings, pressure settings, power cord, and shutoff controls work, then store the manual with the unit.
How Underinflated Tires Affect the Vehicle
An underinflated tire flexes more than intended. This generates heat, increases rolling resistance, and can accelerate shoulder wear.
Low pressure can also cause:
- Slower steering response
- Reduced stability
- Longer stopping distances
- Poor fuel economy
- Increased tire temperature
- Premature tire damage
- Uneven handling during turns
Large pressure differences can be especially undesirable on all-wheel-drive vehicles because they change the tires’ effective rolling sizes. Correct the pressure promptly and follow the vehicle manufacturer’s requirements for tire size, tread depth, and rotation.
The U.S. Tire Manufacturers Association’s tire-care guidance recommends checking tire pressure at least monthly and before long trips, heavy loads, or towing. It also notes that pressure can change as outdoor temperature rises or falls. (U.S. Tire Manufacturers Association)
Common Mistakes Vehicle Owners Should Avoid
- Using the sidewall’s maximum PSI: Use the vehicle door-jamb label instead.
- Inflating a visibly damaged tire: A cut, bulge, or exposed cord can lead to sudden failure.
- Driving to “warm up” a flat tire: Driving flat can destroy an otherwise repairable tire.
- Removing a nail before reaching a shop: The object may be slowing the leak.
- Running the compressor continuously: Follow its cooling and duty-cycle instructions.
- Trusting only the compressor gauge: Confirm pressure with a separate tire gauge.
- Ignoring rapid pressure loss: A tire that quickly becomes soft is not safe for normal driving.
- Using sealant as a permanent repair: Sealant is an emergency measure, not a complete repair.
- Inflating beside moving traffic: Personal safety comes before saving the tire.
- Forgetting the spare tire: Check its pressure regularly, especially before a long trip.
When to Call a Tire Shop or Roadside Service
Stop the DIY process and request professional help when:
- You cannot park safely
- The tire will not accept air
- The tire cannot hold pressure
- The sidewall or wheel is damaged
- The tire has come off the rim
- The compressor repeatedly overheats
- The vehicle was driven on the flat tire
- More than one tire is flat
- You do not know whether the damage is safe
When choosing a repair facility, request an inspection before authorizing tire replacement. Ask whether the puncture can be repaired according to accepted tire-industry practices and whether the repair includes both an internal patch and a plug-style stem.
The FTC’s auto-repair consumer guidance recommends comparing shops, requesting a written estimate, and reviewing warranty terms before approving work. (Consumer Advice)
When to Call a Transmission Professional
A flat tire is normally a tire problem, not a transmission failure. However, you should contact a transmission or driveline professional if the tire has been corrected but the vehicle still:
- Will not move when Drive or Reverse is selected
- Slips or hesitates during acceleration
- Shudders during gear engagement
- Produces grinding or clunking from the drivetrain
- Shows a transmission, AWD, or four-wheel-drive warning
- Leaks red, brown, or amber fluid underneath
- Develops binding or hopping during tight turns
Do not assume that poor movement is caused only by the flat tire. A towing load, wheel damage, failed axle, differential problem, or transmission fault may produce similar symptoms.
For an AWD or 4WD vehicle, tell the shop how far the vehicle was driven with the tire severely underinflated. This information can help the technician evaluate possible driveline stress.
FAQs
Can a small portable compressor inflate a completely flat car tire?
It may, provided the tire is undamaged and still sealed against the wheel. Inflation may take longer than normal. If the bead has separated from the rim, a small compressor will probably not provide enough airflow.
How long does a portable air compressor take to inflate a flat tire?
Inflation time depends on the compressor, tire size, starting pressure, power source, and temperature. A compact unit may need several minutes or longer. Stop for cooling whenever required by the manufacturer.
Should the engine be running while using a 12-volt tire inflator?
Follow the inflator’s instructions. Some models recommend running the engine to maintain voltage, while others do not. Never run the engine inside a closed garage or poorly ventilated space.
What PSI should I use for my tires?
Use the pressure printed on the vehicle’s tire-information placard, usually located on the driver-side door jamb. Do not use the maximum PSI printed on the tire sidewall as your normal target.
Can I drive on a tire after adding air?
You may be able to drive slowly to a nearby tire shop if the tire has no visible structural damage and holds pressure. Do not drive if pressure drops rapidly or the sidewall, tread, bead, or wheel is damaged.
Why does the tire become flat again after inflation?
The tire may have a puncture, leaking valve, damaged wheel, bead leak, or structural damage. Adding air cannot fix these problems. The tire needs inspection to identify and repair the source.
Will driving with low tire pressure damage the transmission?
Low pressure does not usually damage the transmission directly. However, a major difference in tire circumference can affect handling and make some AWD or 4WD driveline components work harder. Correct the pressure promptly.
Conclusion
Knowing how to inflate a flat tire with a portable air compressor can help you handle a slow leak, restore safe pressure, and reach a repair facility without immediately installing a spare.
Start by moving away from traffic, inspecting the tire, and finding the correct PSI on the vehicle placard. Connect the compressor securely, inflate in controlled intervals, and verify the result with a separate gauge.
Remember that inflation is not the same as repair. If the tire is damaged, loses pressure quickly, has separated from the rim, or was driven while flat, arrange roadside assistance or professional inspection. Keep a tested inflator and pressure gauge in your vehicle, check your tires monthly, and address pressure loss before it becomes a costly roadside emergency.
