How to Replace Synchronizer on a Eaton Transmission
1.Put the transmission in neutral and turn off the engine. Disconnect the battery cables to discharge any electrical current that may be…
1.Put the transmission in neutral and turn off the engine. Disconnect the battery cables to discharge any electrical current that may be present.
2.Locate the synchronizer assembly on your Eaton transmission (it will be near a gear).
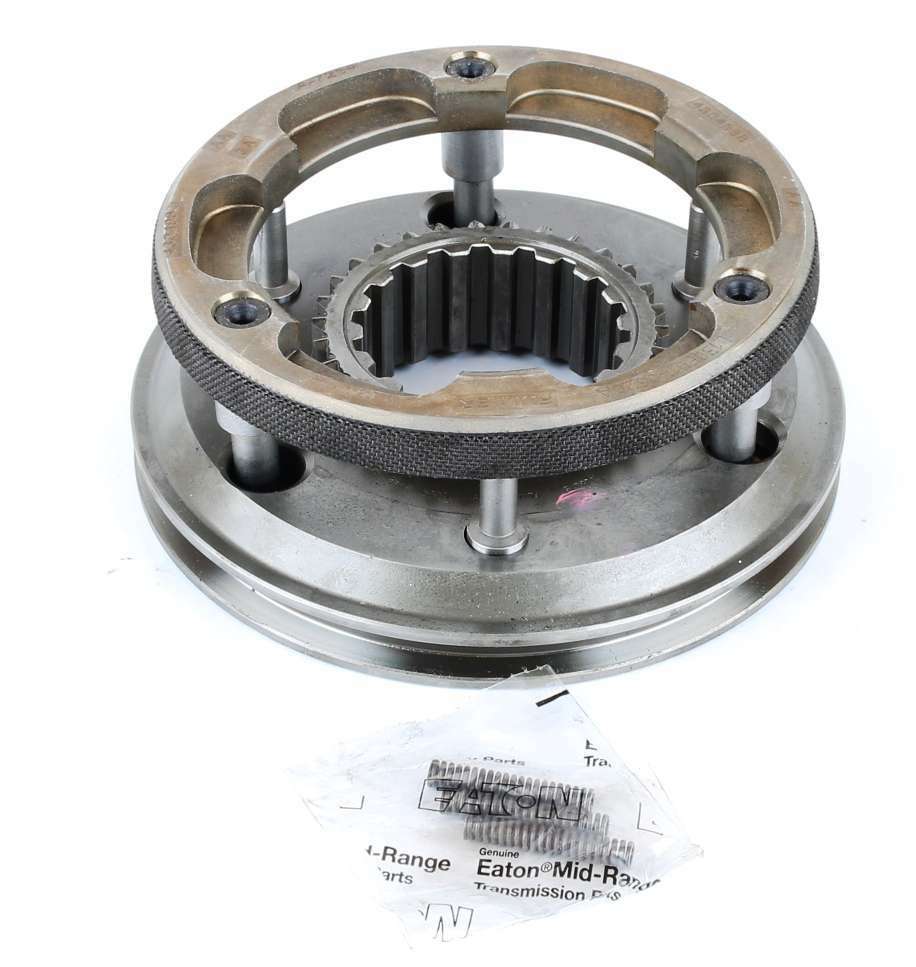
This part looks like a drum with small pins sticking out of it, usually 5 or 6 depending on type of transmission you have.
3.Remove all necessary parts from around synchronizer so that it is exposed as much as possible for easier removal and installation of new one. Remove screws and bolts holding synchronizer in place, but make sure to keep track of these pieces because they are necessary during reassembly process.
Make sure to remove clutch linkage if applicable before removing entire unit completely from vehicle’s frame or drive shaft housing area where it was mounted originally.
4.Install new synchronizer into same position as old one by reversing removal steps taken previously; secure with appropriate bolts/screws using torque wrench set at manufacturer’s recommended levels (usually 15-20 ft.-lbs.). Reinstall other components such as clutch linkage back onto vehicle before attempting to start up engine again for testing purposes only after everything has been properly secured and tightened down correctly per instructions provided by manual supplied with purchase or online resource guide found through manufacturer’s website(s).
- Remove the Shift Tower – The shift tower is secured to the Eaton transmission using four bolts
- Using a ratchet, remove all four of these bolts and set them aside in a safe place for later use
- Disconnect Linkage Rods – Disconnect the linkage rods from the shift rail and shift rod located inside the transmission housing by unscrewing their respective nuts
- Move these linkage rods off to one side or remove them completely if necessary during your repair work
- Remove Synchronizer Assembly – Unscrew and remove any mounting screws that are holding down the synchronizer assembly on top of the transmission housing, then carefully lift it up out of its slot in order to gain access to its internal components including gears, bearings, washers, springs etcetera that need replacing as well as oil seals when applicable
- 4 Install New Parts– Once you have cleared away all old parts from within your synchronizer assembly; begin installing new parts such as bearings, gears and washers according to manufacturer’s instructions or diagrams provided with your replacement kit if available
- Make sure everything fits snugly into place before proceeding further with installation steps outlined below
- 5Reassemble Synchronizer Assembly- After all new parts have been installed properly; reattach synchronizer assembly back onto top half of Eaton Transmission by screwing down any remaining mounting screws into their original positions (if applicable)
- Fill up gearbox with appropriate fluid according to vehicle’s specifications at this time (or wait until after next step is completed) before moving on ahead
- 6 Reinstall Linkage Rods & Shift Tower – Reconnect linkage rods back onto shift rail and shift rod located inside gearbox housing then put shifter tower back onto Eaton Transmission via same 4 bolts used earlier for removal process making sure each bolt is tightened securely using ratchet wrench once again in order ensure proper gear shifting mechanics upon completion
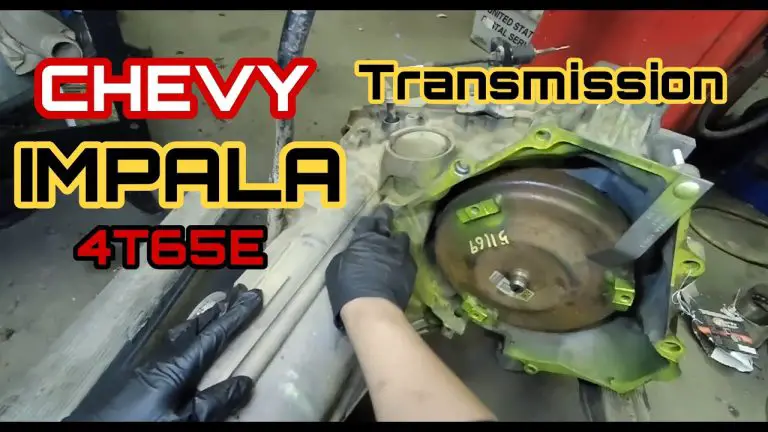
How to rebuild FRO15210C 10 speed transmission back section (synchronizer)
How Do You Tell If Your Synchros are Going Bad?
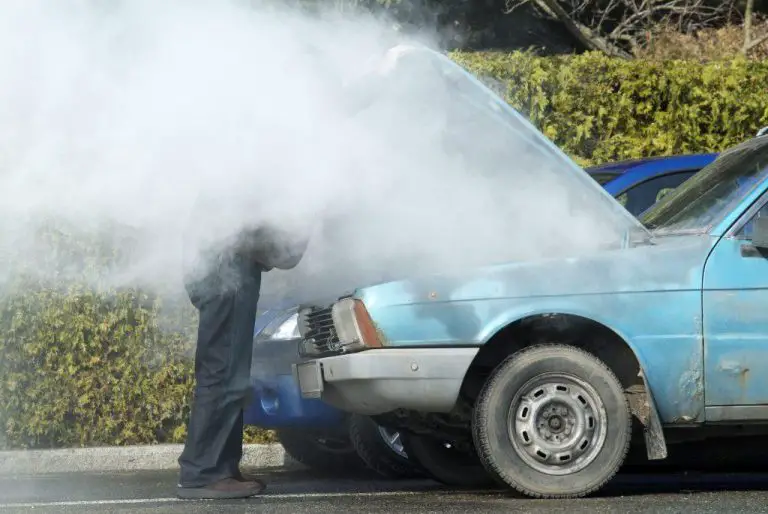
If your synchros are going bad, there are a few signs you can look for that will indicate that something is wrong. One of the most common symptoms of bad synchros is grinding noises coming from the transmission when shifting gears. This occurs because the synchronizer rings may not be able to rotate smoothly in order to match up with each other and allow for smooth gear changes.
Another symptom is difficulty shifting into gear or an inability to get into certain gears at all, due to lack of proper synchronization between the engine speed and transmission input shafts. Additionally, if your vehicle has trouble accelerating or decelerating quickly (or even slowly), this could also be a sign that your synchros are failing as they should be allowing for smooth transitions between different speeds. Finally, if you notice any oil leaking out around the area where the wheels meet up with the axle shafts then it’s time to have them checked out as well since worn-out seals could lead to problems down the road.
If any of these issues occur it’s important to take action right away so you don’t end up having more serious repair costs later on!
Can You Replace a Transmission Synchronizer?
Replacing a transmission synchronizer can be a complex and difficult task, so it is important to understand what you are getting into before attempting this repair. A transmission synchronizer is an essential component of your vehicle’s automatic or manual transmission system, which helps keep the gears in sync when shifting between them. If the synchronizer fails due to wear-and-tear or other damage, it will need to be replaced.
Depending on the type of vehicle you have and its make/model, replacing a transmission synchronizer can require significant skill and knowledge – not something that should be attempted by someone with no experience in this area. It may also involve specialized tools as well as parts such as new gaskets, seals and bearings. Beginner mechanics will usually want to leave this job for specialists at professional auto repair shops instead of trying it themselves; however if you do decide to do it yourself then having reliable resources like online tutorials and manufacturer instructions will be invaluable during the process.
What Happens If a Synchro Goes Bad in a Transmission?
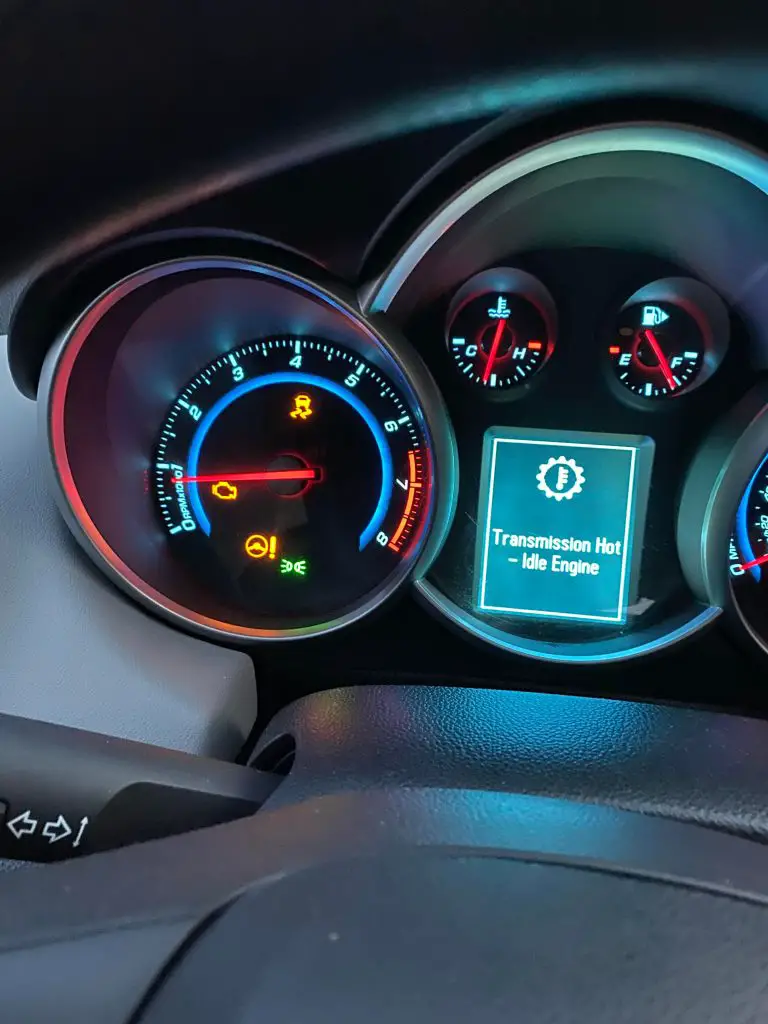
If a synchro goes bad in a transmission, it can cause several different problems. The most common issue is grinding when shifting gears. This happens because the synchronizer is not able to properly engage the gear and match its speed with that of the input shaft, resulting in metal-on-metal contact as you try to shift into another gear.
Other symptoms include difficulty engaging a specific gear or difficulty getting out of neutral, as well as an inability to downshift or upshift smoothly. Also, if your transmission has been slipping since you noticed any of these issues then this could be due to a faulty synchronizer assembly. In some cases, the damage might be so severe that it causes complete failure and requires full replacement of the entire unit depending on how badly damaged it is from overuse or age related wear and tear.
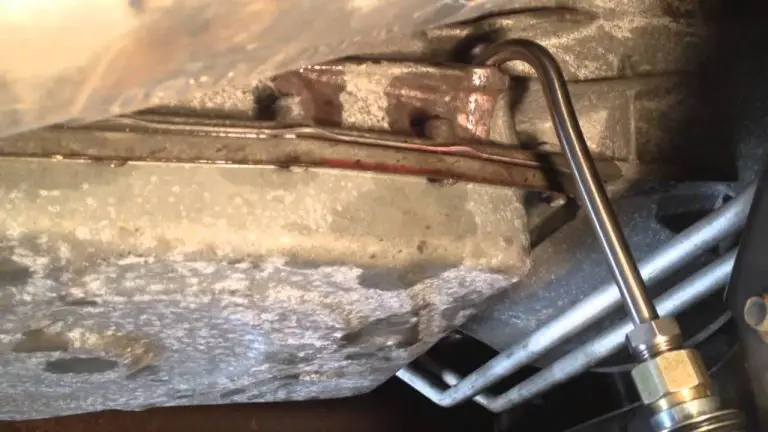
Where is the Transmission Synchronizer Located?
The transmission synchronizer is an important part of the transmission system, located between the engine and the gearbox. It acts as a bridge between these two components, by allowing smooth shifting from one gear to another. The synchronizer works by matching up the speed of both components before engaging them together.
This ensures that when changing gears, there is no jerking or grinding of metal parts within the drivetrain. The majority of modern cars have several types of synchronization systems built into their transmissions, with some being more complex than others.In most vehicles today, you will find that the transmission synchronizer is located inside a housing on top of the gearbox itself. This housing typically contains multiple sets of small discs which act like brakes when they come into contact with each other during shifting operations.
Credit: www.ebay.com
Eaton Fuller Synchronizer Replacement Cost
The average cost to replace an Eaton Fuller synchronizer is between $250 and $800. The exact cost will depend on the make and model of your vehicle, as well as the type of synchronizer being replaced. Additionally, labor costs can vary widely depending on where you take your vehicle for service.
It’s important to consult a reliable mechanic to determine the total cost of replacing your Eaton Fuller Synchronizer.
Eaton Fuller 10 Speed Transmission Synchronizer Replacement
Replacing the synchronizers in an Eaton Fuller 10 Speed Transmission can be a tricky job and should be done by an experienced mechanic. The process requires disassembling the transmission, inspecting all components for damage or wear, replacing any damaged parts with new ones, reassembling the transmission and adjusting it according to manufacturer specifications. It is important to note that this type of repair should only be attempted by someone who has experience working on transmissions as there are many intricate steps involved in order to ensure proper operation of the synchronizer after replacement.
Manual Transmission Synchronizer Replacement Cost
Replacing the synchronizer in a manual transmission can be a costly repair, with prices varying depending on the make and model of your vehicle. On average, you should expect to pay anywhere from $350-$1200 for parts and labor when replacing this part. If you plan to do the job yourself, it is important that you have experience working on transmissions as this can be a difficult process.
Conclusion
Replacing the synchronizer on an Eaton transmission can be a difficult task, but with some patience and careful guidance it is possible to complete this job in a few hours. With the right tools and knowledge, you can save money by avoiding professional repair costs and make sure your transmission runs smoothly for many years to come. Furthermore, being aware of potential problems during installation will help you avoid future issues down the road.
Hopefully this guide has provided enough information to successfully replace your synchronizer ring on an Eaton Transmission.