
How to Check Tire Pressure With a Tire Inflator: A Simple Step-by-Step Guide

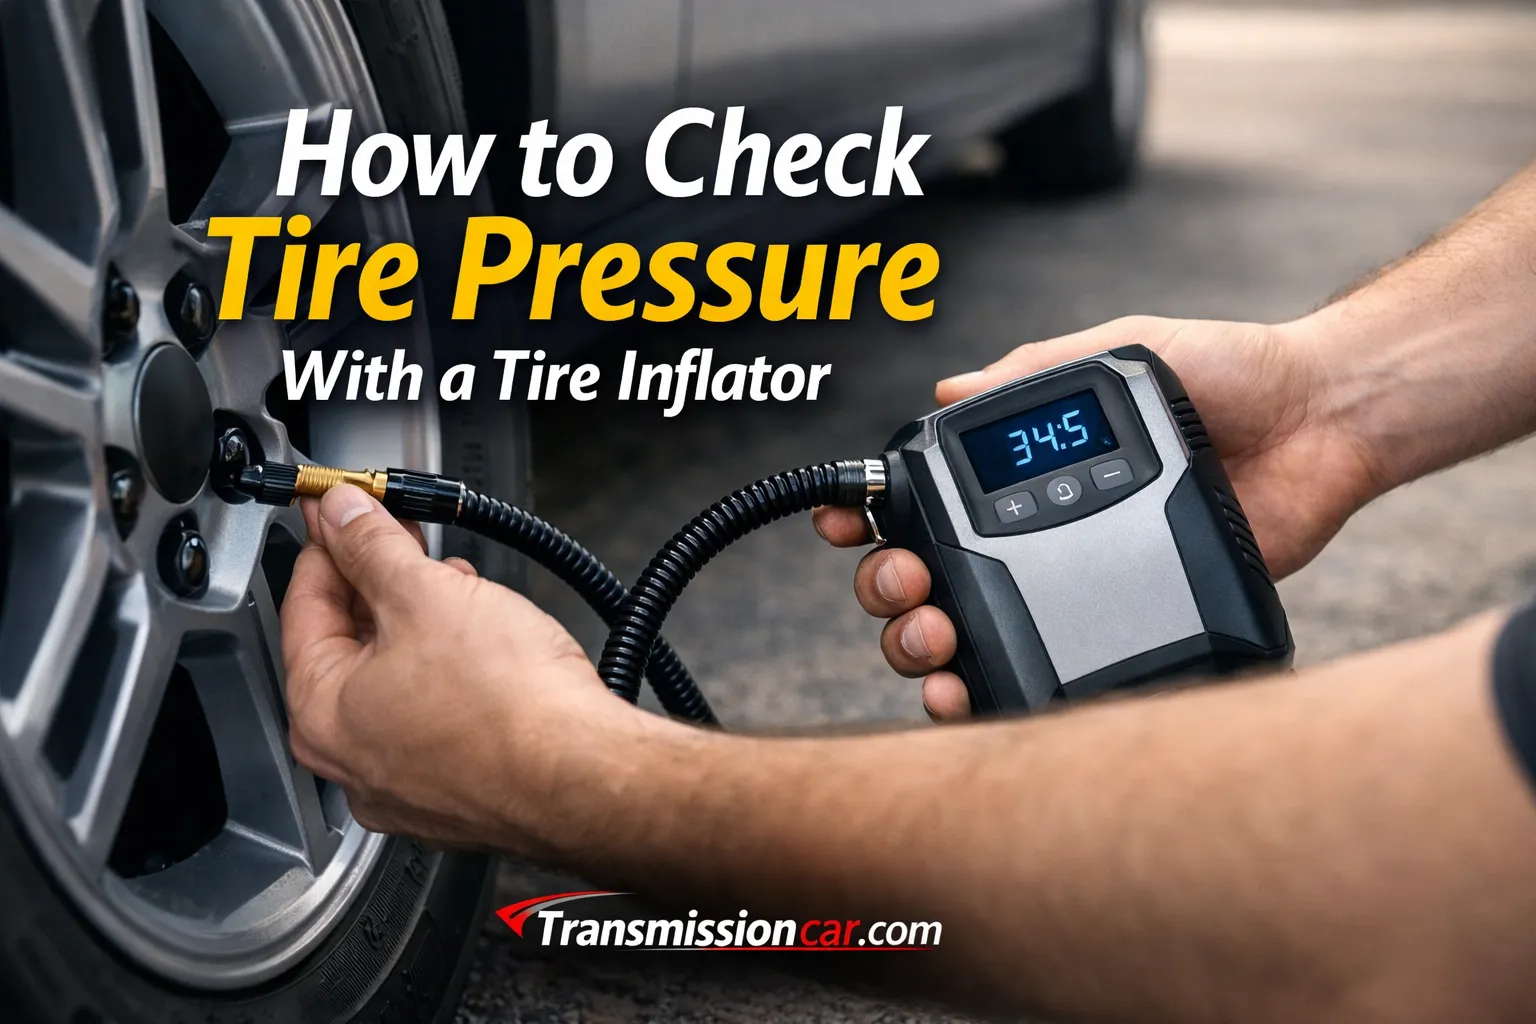
A low tire can reduce handling, increase tire wear, trigger the tire-pressure warning light, and leave you stranded if the pressure continues to drop. Fortunately, checking and correcting tire pressure is one of the easiest maintenance tasks a vehicle owner can perform.
Learning how to check tire pressure with a tire inflator takes only a few minutes. You need the correct pressure specification, a reliable inflator, and a basic understanding of when the tires should be checked.
This guide explains how to find the correct PSI, use different types of inflators, avoid overinflation, interpret the readings, and recognize when a tire needs professional inspection.
Quick Answer
To check tire pressure with a tire inflator, park the vehicle until the tires are cold, find the recommended PSI on the driver’s door placard, remove the valve cap, and connect the inflator hose. Read the displayed pressure, add or release air as needed, then recheck until the tire reaches the recommended PSI.
Why Correct Tire Pressure Matters
Tire pressure affects more than whether the tire looks flat. It influences how the vehicle steers, stops, rides, and uses fuel.
A properly inflated tire maintains the contact area that the vehicle manufacturer intended. When the pressure is too low, the tire flexes more and creates additional heat. When it is too high, the center of the tread may carry more of the load and the ride can feel unusually harsh.
Correct pressure can help provide:
- More predictable steering and braking
- Better tire durability
- More even tread wear
- Improved ride quality
- Lower risk of heat-related tire damage
- Better fuel efficiency
The U.S. Department of Energy’s fuel-efficiency guidance notes that underinflated tires can reduce gas mileage as average tire pressure falls. (The Department of Energy’s Energy.gov)
What You Need Before Checking the Tires
You do not need professional shop equipment. A typical pressure check requires:
- A portable tire inflator or air compressor
- An inflator hose with the correct valve connector
- A pressure display or built-in gauge
- A separate tire-pressure gauge, if available
- Your vehicle’s recommended tire-pressure information
- A safe, level parking area
Portable inflators may connect to a 12-volt vehicle outlet, the vehicle battery, a household outlet, or a rechargeable battery.
Before using one, check its pressure range and operating instructions. Some compact inflators have limited run times and must cool between tires.
Find the Correct Tire Pressure First
Before connecting the inflator, determine the correct pressure for your vehicle.
Look for the Tire and Loading Information label in one of these locations:
- The driver’s doorjamb
- The edge of the driver’s door
- The door pillar
- The owner’s manual
The label usually lists separate recommended pressures for the front and rear tires. These values may be different, especially on trucks, performance vehicles, and vehicles designed to carry heavy loads.
According to the NHTSA TireWise tire-safety guidance, the manufacturer’s recommended pressure should be checked at least monthly when the tires are cold. NHTSA also identifies the driver’s door area or owner’s manual as the proper source for the vehicle’s recommended PSI. (NHTSA)
Do Not Use the Tire Sidewall Number as Your Target
The pressure molded into the tire’s sidewall is generally the tire’s maximum permitted cold inflation pressure for its rated load. It is not automatically the correct operating pressure for your vehicle.
Use the vehicle manufacturer’s door placard unless the vehicle manufacturer, tire manufacturer, or a qualified technician has approved a different specification for an altered tire-and-wheel setup.
Check the Tires When They Are Cold
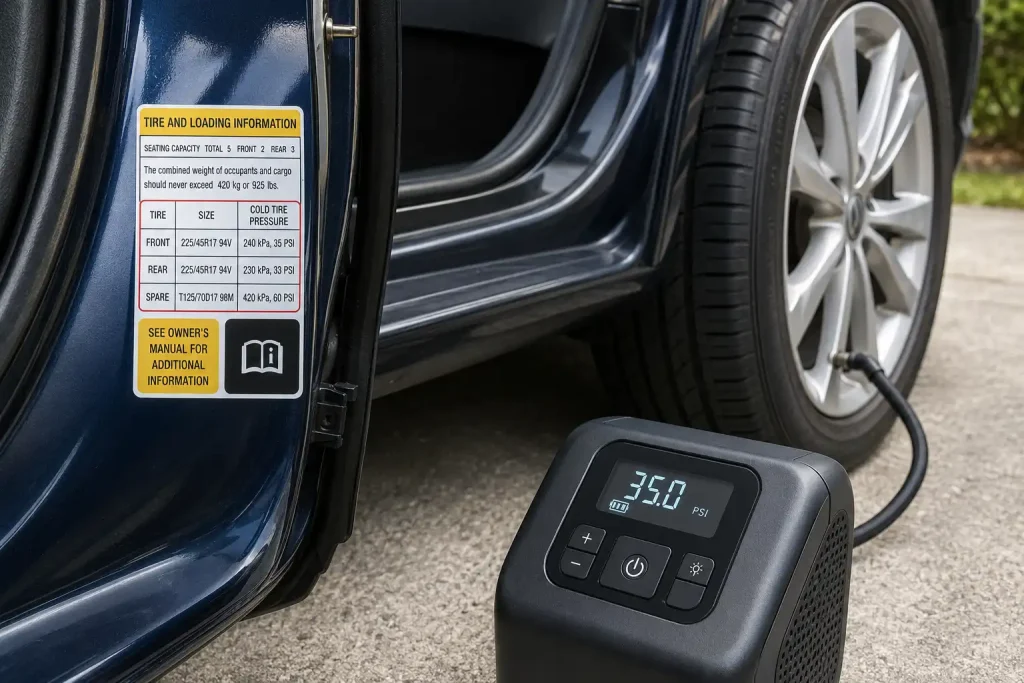
For the most accurate reading, check tire pressure before driving or after the vehicle has been parked for at least three hours.
Driving warms the tires. As the air inside heats up, the pressure increases. A warm tire may therefore show a higher reading than it would after cooling.
NHTSA defines cold tires as tires that have not been driven on for at least three hours and recommends cold pressure checks for accurate results. (NHTSA)
Do not release air from a warm tire simply because its reading is higher than the cold-pressure specification. You may accidentally leave it underinflated after it cools.
When you must add air after driving, inflate the tire enough to make the vehicle safe and recheck it when cold.
How to Check Tire Pressure With a Tire Inflator
The exact controls vary between inflators, but the basic process is similar.
1. Park in a Safe Location
Park on level ground away from traffic. Apply the parking brake and switch off the engine unless the inflator instructions require the vehicle to run.
Make sure the hose can reach each tire without being stretched tightly.
2. Confirm the Target PSI
Read the driver’s door placard and note the recommended pressure for:
- Front tires
- Rear tires
- Spare tire, when applicable
Do not assume all four tires require the same pressure.
3. Prepare the Inflator
Connect the inflator to its power source.
Depending on the model, this may involve:
- Plugging it into a 12-volt outlet
- Connecting clamps to the battery
- Installing a charged battery pack
- Plugging it into a household outlet
Keep electrical cords and air hoses away from moving parts, hot exhaust components, and standing water.
4. Remove the Valve-Stem Cap
Unscrew the small cap from the valve stem and place it somewhere safe.
Inspect the valve briefly. Cracking, bending, corrosion, or visible damage may indicate that the valve stem needs replacement.
5. Attach the Inflator Hose
Push or screw the connector firmly onto the valve stem.
A brief hiss is normal while attaching it. Continuous hissing usually means the connector is not seated correctly.
Reposition the hose until the connection is straight and secure. Avoid pulling the valve stem sideways.
6. Read the Current Pressure
Many digital inflators display the pressure as soon as they are attached. Other models require you to switch them on first.
Common pressure units include:
- PSI: pounds per square inch
- kPa: kilopascals
- Bar: another metric pressure measurement
Most U.S. vehicle placards prominently display PSI, although they may also show kPa.
Make sure the inflator is set to the same unit used on the placard.
7. Add Air Gradually
If the pressure is low, activate the inflator.
With a manual inflator, add air in short bursts and stop regularly to check the reading. With an automatic digital inflator, enter the target PSI and allow the unit to stop when it reaches the selected pressure.
Do not leave the inflator unattended. Automatic shutoff is helpful, but it should not replace supervision.
8. Release Excess Air if Necessary
If the pressure is too high, use the inflator’s bleed button or gently press the small pin in the center of the valve stem.
Release only a small amount at a time. Recheck the pressure after each adjustment.
9. Verify the Final Reading
Disconnect and reconnect the inflator to confirm the final PSI.
For better accuracy, compare the built-in reading with a separate handheld pressure gauge. Gas-station gauges and frequently used inflator gauges can become inaccurate through wear, impact, or weather exposure.
The AAA tire-pressure checking guide also recommends using a personal gauge because public air-station gauges may be affected by heavy use or outdoor exposure. (AAA)
10. Replace the Cap and Check Every Tire
Reinstall the valve-stem cap. It helps keep dirt and moisture away from the valve mechanism.
Repeat the process for all four tires and check the spare when the vehicle has one. A neglected spare may be unusable when you need it most.
Tire-Pressure Reading Guide
| Inflator reading | Recommended action |
|---|---|
| At the specified cold PSI | Disconnect the inflator and replace the valve cap |
| 1–3 PSI below specification | Add air in short bursts and recheck |
| More than 5 PSI below specification | Inflate carefully and inspect for a puncture or leak |
| Above specification when the tire is cold | Release small amounts of air and recheck |
| Pressure repeatedly drops in one tire | Have the tire, wheel and valve inspected |
| Reading changes while the connector is still | Reseat the connector and check for leaking air |
| Gauge differs greatly from another gauge | Test the inflator with a known accurate gauge |
A tire that is several PSI lower than the others deserves attention even when it can be reinflated. Air may be escaping through a nail puncture, damaged valve, corroded wheel, or poor bead seal.
How Accurate Is a Tire Inflator’s Built-In Gauge?
Built-in gauges are convenient, but accuracy varies.
A good digital inflator may be accurate enough for routine maintenance. However, inexpensive, damaged, or heavily used units may display a reading that differs from the tire’s actual pressure.
For dependable results:
- Compare the inflator with a quality handheld gauge
- Take two readings instead of relying on one
- Keep the connector straight on the valve
- Replace weak batteries in digital gauges
- Protect the inflator from moisture and impacts
- Stop using a gauge that sticks or produces inconsistent readings
A difference of several PSI matters. Replace or recalibrate an inflator that repeatedly disagrees with a trusted gauge.
Expert Tip: Check the same tire with your inflator and a separate gauge when both are cold. If the readings consistently differ, write the correction amount on the inflator or replace the inaccurate gauge.
Understanding the TPMS Warning Light
The Tire Pressure Monitoring System, or TPMS, warns you when one or more tires become significantly underinflated.
However, the warning light is not a replacement for manual pressure checks. The system may not alert you to a smaller pressure loss that can still affect wear, handling, and fuel use.
When the TPMS light appears:
- Reduce speed if the vehicle feels unstable.
- Inspect each tire for visible damage.
- Check all tire pressures with a gauge.
- Inflate them to the vehicle’s specified cold pressure.
- Watch for a tire that loses air again.
On some vehicles, the light turns off automatically after inflation and a short drive. Others require a reset or relearn procedure described in the owner’s manual.
A TPMS light that flashes before staying on may indicate a monitoring-system fault rather than ordinary low pressure. NHTSA recommends having the system inspected when this malfunction pattern occurs. (NHTSA)
Signs the Tire May Have More Than a Pressure Problem
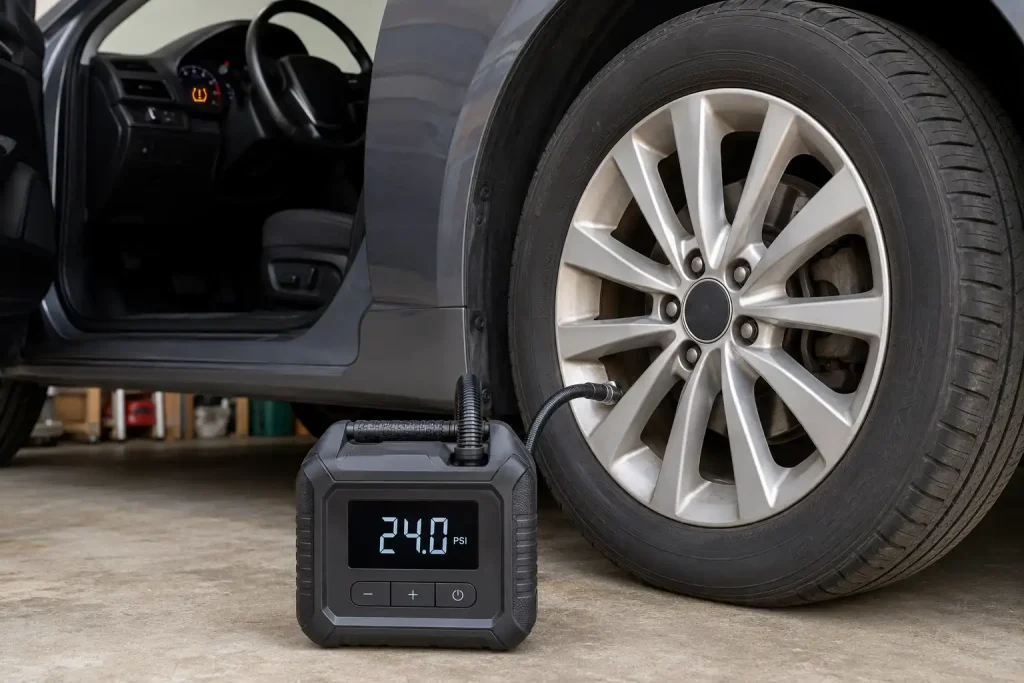
Adding air will not repair a damaged tire.
Stop and inspect the tire when you notice:
- A nail, screw, or sharp object in the tread
- A cut in the tread or sidewall
- A sidewall bubble or bulge
- Exposed cords
- Severe cracking
- A bent or leaking valve stem
- Rapid air loss
- Repeated pressure loss
- Strong vibration or pulling
- A tire that becomes unusually hot
Do not inflate a visibly damaged, separated, or severely flat tire while standing beside it. A weakened tire can fail under pressure.
Move away from traffic and contact roadside assistance or a tire professional when the tire cannot be safely inflated.
Choosing a Reliable Tire Inflator
A more expensive inflator is not always necessary, but very cheap units may inflate slowly, overheat quickly, or provide inconsistent readings.
Consider these features:
- Clear digital or analog gauge
- Automatic shutoff
- Pressure-release button
- Long enough power cord and hose
- Suitable maximum pressure
- Adequate airflow
- Built-in work light
- Replaceable fuse
- Stable valve connector
- Storage case
- Manufacturer warranty
Pay Attention to the Duty Cycle
The duty cycle tells you how long the inflator can run before it needs to cool.
Small inflators may overheat when filling several low tires continuously. Follow the operating-time limit in the product manual.
Stop using the inflator if it smells hot, slows noticeably, smokes, or becomes excessively hot. Some metal fittings can also become hot enough to burn skin.
DIY Check or Professional Tire Service?
| Situation | DIY inflator check | Professional inspection |
|---|---|---|
| Routine monthly pressure check | Yes | Usually unnecessary |
| Pressure changes with weather | Yes | Only if pressure keeps falling |
| One tire repeatedly loses air | Temporary correction only | Recommended |
| Nail in the center tread | Do not remove it yourself | Recommended |
| Sidewall puncture or bulge | No | Required |
| Bent wheel or damaged valve | No | Required |
| Inflator gives inconsistent readings | Verify with another gauge | Recommended if uncertainty remains |
| Vehicle shakes after pressure correction | Basic visual check only | Recommended |
A tire shop can test for slow leaks, inspect the wheel, evaluate internal tire damage, and determine whether a puncture is safely repairable.
When to Call a Transmission Professional
Low tire pressure is normally a tire-service issue, not a transmission problem. However, tire and driveline symptoms sometimes feel similar from the driver’s seat.
Begin by correcting the pressure and inspecting the tires. Then consult a transmission or driveline professional if you still experience:
- Shuddering during acceleration
- Delayed engagement into Drive or Reverse
- Engine speed rising without normal acceleration
- Clunking during gear changes
- Vibration that changes with gear selection
- Warning messages related to the transmission or all-wheel-drive system
- Fluid leaking from the transmission or differential
On all-wheel-drive vehicles, incorrect tire sizes or major differences in tire circumference can interfere with the driveline. A small temporary PSI difference is not the same as installing mismatched tires, but persistent tire-size or tread-depth differences should be checked against the owner’s manual.
A transmission professional should not be the first call for an ordinary low tire. However, continued shuddering or driveline binding after the tires are properly inflated deserves diagnosis.
Common Mistakes Vehicle Owners Should Avoid
- Using the sidewall maximum as the target PSI: Follow the vehicle placard instead.
- Checking immediately after a long drive: Warm pressure will normally be higher.
- Bleeding warm tires down to the cold specification: They may become underinflated after cooling.
- Trusting the TPMS light alone: Check pressures manually every month.
- Checking only the visibly low tire: Pressure may be incorrect in more than one tire.
- Ignoring different front and rear specifications: Some vehicles require different pressures.
- Holding the connector at an angle: This allows air to escape and creates false readings.
- Running a small inflator continuously: Follow its duty-cycle limit.
- Ignoring recurring pressure loss: A tire should not require frequent refilling.
- Forgetting the spare: Spare tires can lose pressure while sitting unused.
- Inflating a damaged sidewall: Bulges, cuts, and exposed cords require professional attention.
- Failing to replace the valve cap: Dirt and moisture can enter the valve area.
FAQs
Can a tire inflator check pressure without adding air?
Yes. Most digital and analog inflators display the current pressure as soon as the connector is attached. You do not need to activate the compressor until you determine that the tire is low.
Should the vehicle be running while using a tire inflator?
Follow the inflator manufacturer’s instructions. Some 12-volt models recommend running the engine to protect the vehicle battery, while others should be connected with the engine off. Always use the inflator outdoors or in a properly ventilated area if the engine must run.
What PSI should I set on my tire inflator?
Use the cold tire pressure listed on the driver’s door placard or in the owner’s manual. Do not automatically use the maximum pressure molded into the tire sidewall.
Why does my inflator show a different pressure than my handheld gauge?
One gauge may be inaccurate, the valve connection may be leaking, or the readings may have been taken at different tire temperatures. Compare them several times on the same cold tire. Replace a gauge that produces inconsistent results.
Is it safe to drive when a tire is 5 PSI low?
A tire that is 5 PSI low should be corrected before normal driving. Inspect it for damage and monitor it closely. When one tire loses that much pressure without an obvious temperature change, it may have a leak.
How often should I check tire pressure?
Check all tires, including the spare, at least once a month and before a long trip. Check more frequently during major temperature changes or when a tire has recently been repaired.
Why does tire pressure increase after driving?
The tire flexes and heats while driving, warming the air inside. Warmer air produces a higher pressure reading. This increase is normal, which is why the manufacturer’s specification is based on cold tires.
Conclusion
Knowing how to check tire pressure with a tire inflator gives you a fast, practical way to protect your tires and identify air loss before it becomes a roadside problem.
Start with cold tires, use the pressure listed on the driver’s door placard, connect the inflator securely, and adjust the air gradually. Confirm the final reading with a dependable gauge whenever possible.
Do not ignore repeated pressure loss, visible tire damage, unusual vibration, or a TPMS warning that remains on. Check all four tires and the spare today, then make tire-pressure inspection part of your monthly vehicle-maintenance routine.
